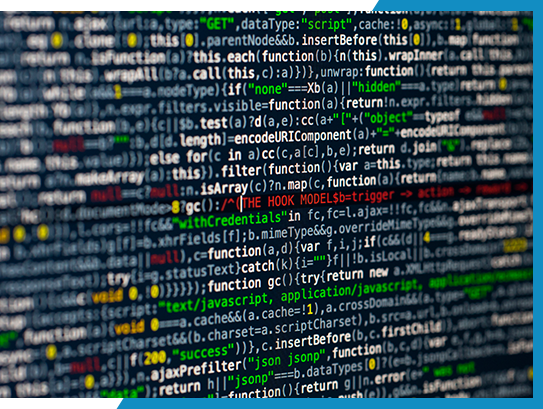
Every website that exists is made of up 3 parts: the site files (HTML, PHP), the database, and the server. The site cannot exist without the files. Hackers make it their goal to destroy businesses by exploiting site code vulnerabilities Our mission is to stay ahead of the hackers with state of the art website hosting capabilities.
Why do I need hosting?
A server is where your website lives: a digital address. There are many options of platforms to host your website, and secure hosting through a trusted provider is the best way to protect yourself from hackers and loss of information. Our team at webFEAT thinks like hackers (and have ethical hacker certification), so we know exactly how to best protect your website from threats.
Hosting with webFEAT minimizes your risk: our services help protect your website from external threats. You can think of it as an insurance policy for your website.
On top of keeping your website safe and secure, we also maintain the necessary updates your website needs. All websites have many moving parts and without consistent updates, the speed and accessibility of your website will suffer.
Hosting with us prevents you from being unaware of issues that might otherwise be undetected. Our practice is to take both a defensive and offensive stance on maintaining the security of your website.
Defensive: We back up your website, which allows for easy restoration should anything go wrong. This protects you from small mishaps that typically lead to information loss. We perform frequent on and off site backups to ensure your website’s information is always up to date and stored safely, and offer unlimited bandwidth on our lightning fast fiber connections.
Offensive: With the knowledge of our in-house certified ethical hacker, Jeremy Maurer, we are able to think the way hackers think and protect your website from any vulnerabilities that hackers would otherwise be able to exploit.
The best assurance we have is that our hosting services are operated by real people- not robots. Our commitment is to serving our clients, and we offer top-notch customer services that assure you are always in our best interest. By hosting with webFEAT, you choose the services you need: web hosting, email hosting, and domain name services.
check out our free website hosting and security webinar
This website uses cookies to improve your experience. We'll assume you're ok with this, but you can opt-out if you wish. Cookie settingsACCEPT
Privacy & Cookies Policy
Privacy Overview
This website uses cookies to improve your experience while you navigate through the website. Out of these cookies, the cookies that are categorized as necessary are stored on your browser as they are essential for the working of basic functionalities of the website. We also use third-party cookies that help us analyze and understand how you use this website. These cookies will be stored in your browser only with your consent. You also have the option to opt-out of these cookies. But opting out of some of these cookies may have an effect on your browsing experience.
Necessary cookies are absolutely essential for the website to function properly. This category only includes cookies that ensures basic functionalities and security features of the website. These cookies do not store any personal information.
Any cookies that may not be particularly necessary for the website to function and is used specifically to collect user personal data via analytics, ads, other embedded contents are termed as non-necessary cookies. It is mandatory to procure user consent prior to running these cookies on your website.